Homebridge คือ Node.js server ที่สามารถใช้ภายใน network ที่บ้าน Homebridge เพิ่ม Apple HomeKit support ให้แก่อุปการณ์ Smart Home ที่ Apple HomeKit ไม่ support อย่างเป็นทางการ เช่น อุปกรณ์จาก 3rd-party โดยการลง plugin ไปยัง Homebridge รายชื่อ 3rd-party plugin สามารถาหาได้จากเวบ NPM โดยการ search หาด้วย keyword homebridge-plugin
วันนี้เสนอวิธีการลง Homebridge บน Docker for Linux
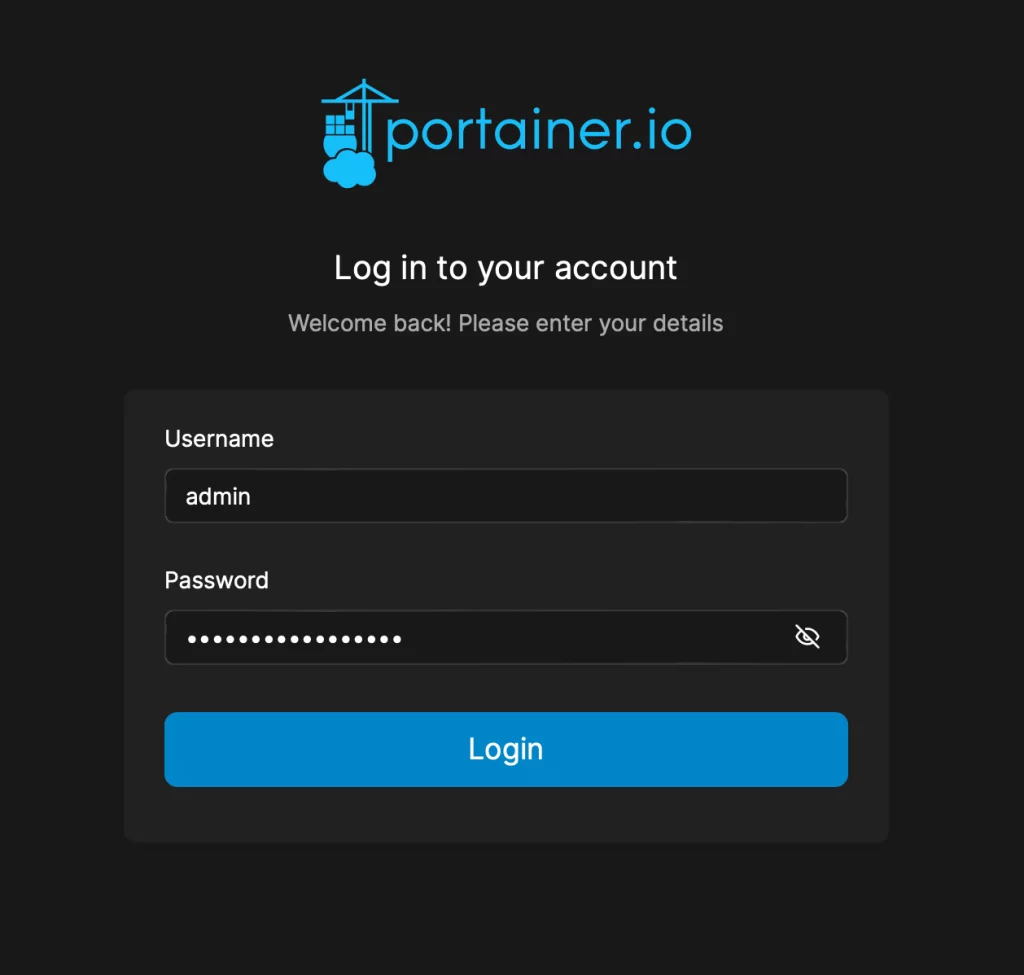
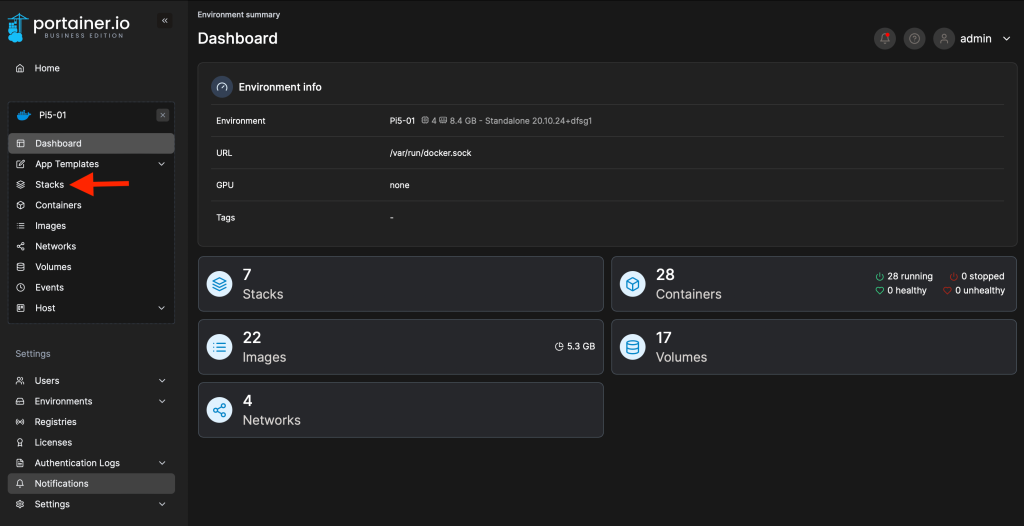
1. ทำการ log in ไปยัง Portainer
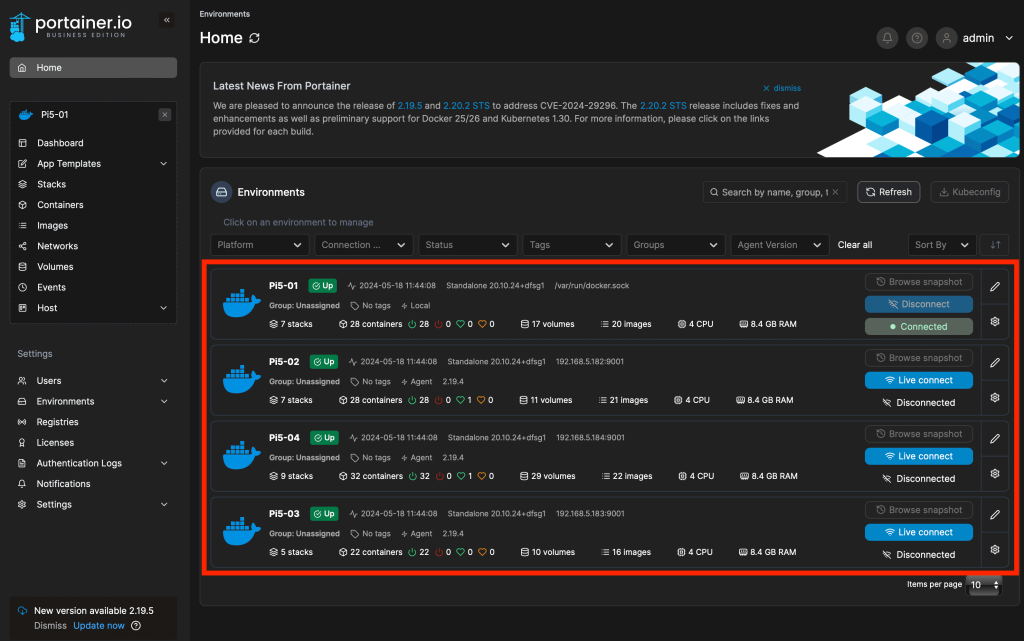
2. เลือก environment
3. เลือก Stacks
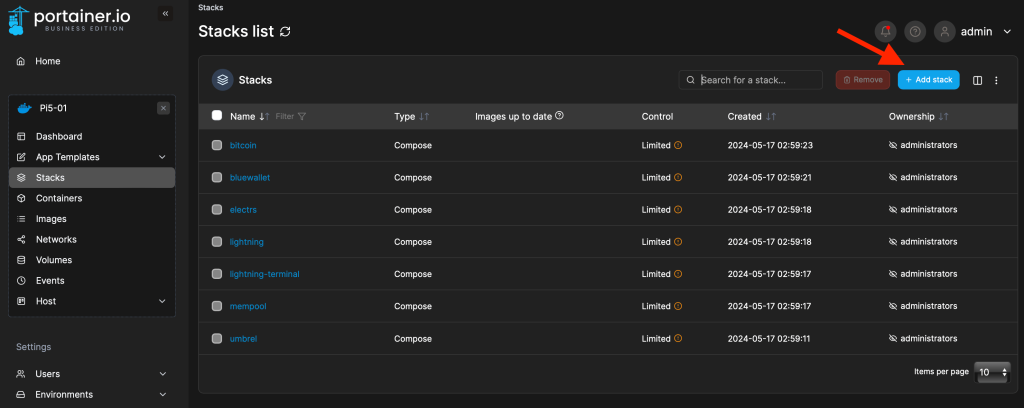
4. เลือก Add Stack
5. ตั้งชื่อ Stack

6. เลือก Web editor

7. ใส่การตั้งค่าใน Web editor ดังนี้
version: '2'
services:
  homebridge:
    image: homebridge/homebridge:latest
    restart: always
    network_mode: host
    volumes:
      - ./volumes/homebridge:/homebridge
    logging:
      driver: json-file
      options:
        max-size: '10m'
        max-file: '1'
    healthcheck:
      test: curl --fail localhost:8581 || exit 1
      interval: 60s
      retries: 5
      start_period: 300s
      timeout: 2s
8. เสร็จแล้วสั่ง deploy stack
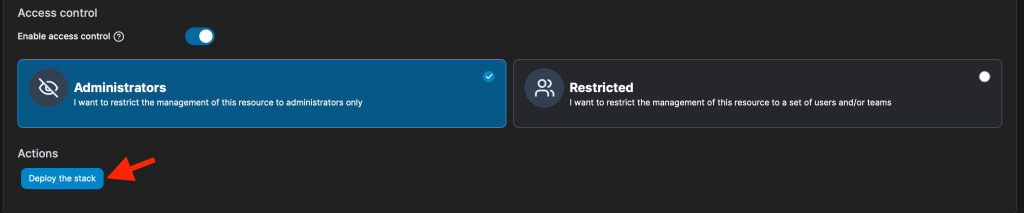
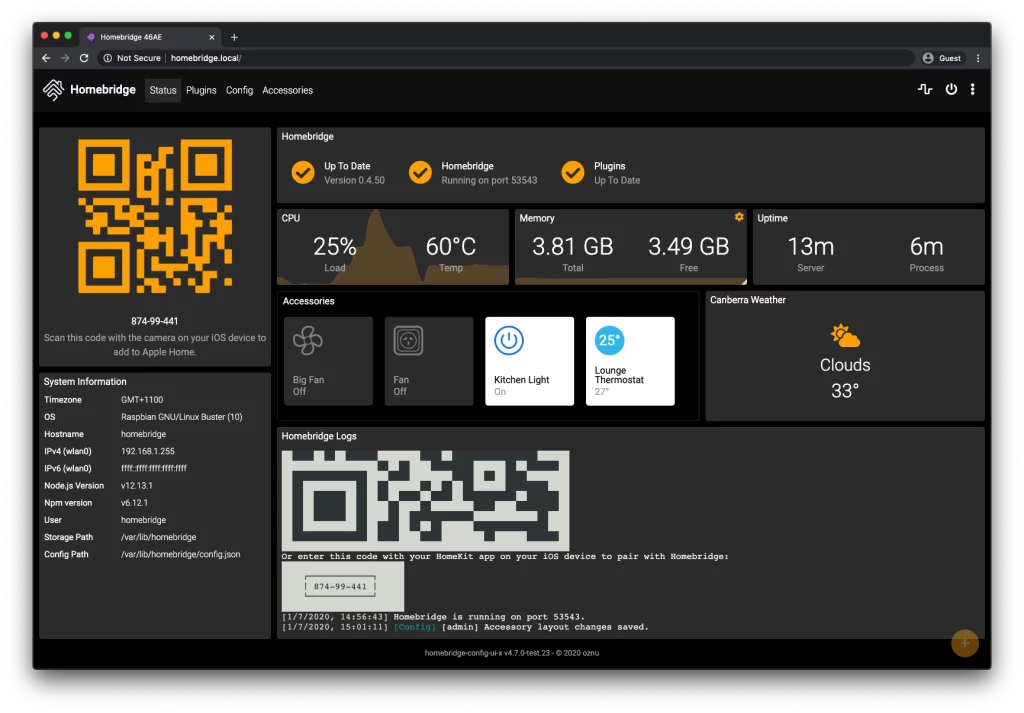
เป็นการเสร็จสิ้นการลง Homebridge บน Docker for Linux
การ login เข้าสู่ Homebridge UI นั้นทำได้ผ่านทาง web browser ด้วย URL address
http://<ip address ของเซิฟเวอร์ Raspberry Pi>:8581